


Share the post "Genius Jewelry Organizing Hacks"
We all know that infuriating situation when we open our jewelry box to put on our favorite bracelet and it’s tangled up with loads of other stuff…necklaces, rings, earrings, you name it! What’s a girl to do? Well, roll up your sleeves and try these easy-as-pie jewelry organizing hacks. All it takes is a simple , a few minutes, and these step-by-step instructions.
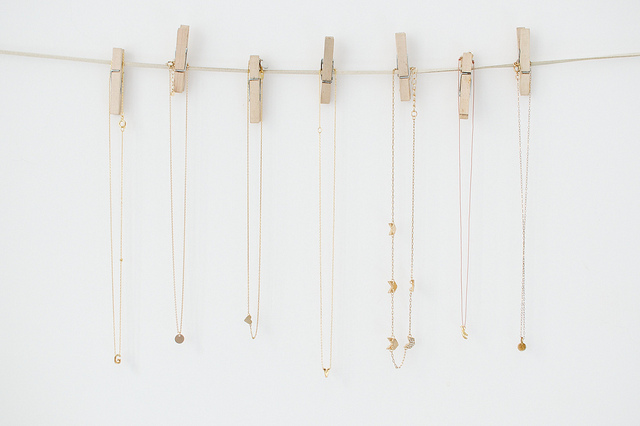
Earring Organizer
No more mismatched or lost earrings! This fun and visually attractive earring organizer is super simple to make.
Materials:
- Empty picture frame
- Chicken wire
- Wire cutter
- Stapler
Instructions:
- Line the chicken wire up with your picture frame to determine how much wire you need. Then, use the wire cutter to cut out the appropriate-sized square of chicken wire.
- Flip the picture frame over and use the stapler (a staple fun might be easier to use here) and staple the chicken wire to the back of the frame. And that’s it! Hang your dangly earrings with ease.
Really Simple Ring Box
Keeping all of your rings in a neat and tidy line is a snap with just a few materials and about five minutes. Really, what more could you ask for?
Materials:
- Small box (such a cigar box or empty food package)
- Melamine foam
Instructions:
- Cut the melamine foam into rectangles that line up with your box. For best results, make the foam rectangles about 2 inches wide.
- Line up the foam rectangles in the box. In between the slits, place your rings. Ta-da!
Magically Beautiful Mason Jar Organizers
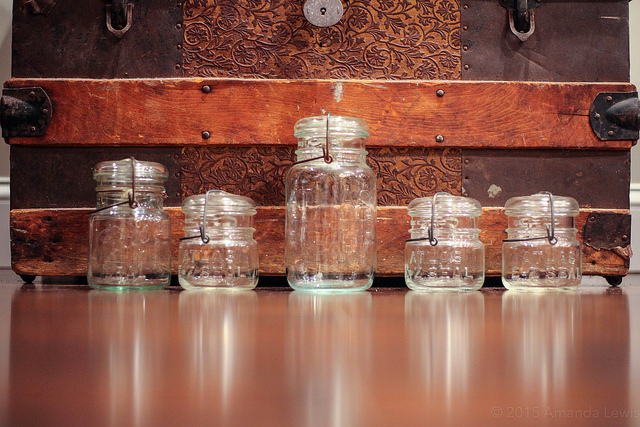
The possibilities are endless with this one. Use mason jars of varying sizes to decorate and then store your pens and pencils, kitchen utensils, makeup brushes, and more!
Materials:
- Mason jars
- Acrylic paint
- Clear chalkboard paint
- Chalk
- Paintbrush
- Masking tape
Instructions:
- Use the masking tape to tape a strip around the middle of each mason jar. Then choose a paint color and paint the bottom half of the jars. You can switch it up and use a variety of colors!
- Allow the paint to dry, then repeat this step for the top half of the jars. Again, allow the jars to dry before moving on to the next step.
- Next, use the clear chalkboard paint and cover the entire mason jar. Allow to dry.
- Once the paint is dry, use different colored chalk to label the mason jars. You can display them in your office, kitchen, or anywhere you’d like! This works great for plants and herbs in the garden as well.
As you can see, there are so many ways that you can use common household items to spruce up your home. The springtime is a great time to get started on these projects!
Share the post "Genius Jewelry Organizing Hacks"
 EN
EN  RU
RU