


Share the post "Design Your Own Tie-Dye Creations"
Who doesn’t love tie-dye? You don’t have to be an aging hippie from the 1960s to channel your boho chic vibe. Tie-dye can look great on items other than T-shirts, because let’s be honest: that’s a tad old-school. So take a look at these awesome tie-dye creations, which you can make on a Saturday afternoon with a basic and your imagination. Wonderful for kids and adults alike, you’ll have hours of fun! For any of these how-to’s, feel free to use clothing, sheets, hand towels – whatever! And feel free to use whatever colors (or combination of colors) you prefer. Squirt bottles of dye are helpful, but you can also use a tub of dye.
All-Over Tie-Dye Splotches
Instructions:
- Lay the item down on a flat surface.
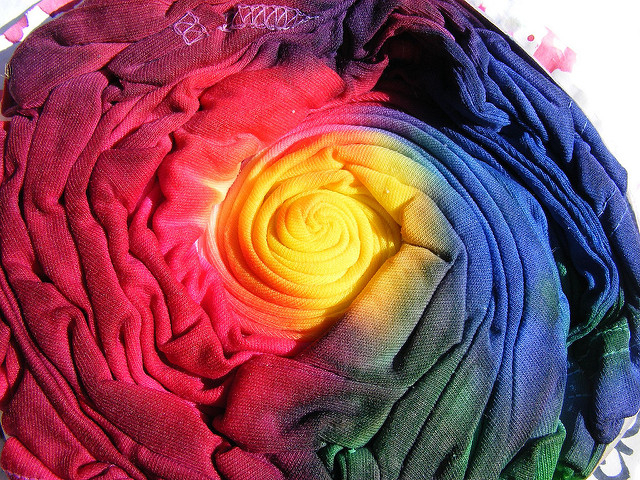
- Starting at the center of the fabric, twist and scrunch the item together to create a ball.
- Place rubber bands around the ball in different places, making sure each rubber band is as tight and secure as possible.
- Squirt the dye onto all sides of the ball of fabric, or place the scrunched up ball in a tub of dye, leaving it soaked for up to 1 hour.
- Let dry before taking off the rubber bands.
Water Ripples Tie-Dye
Instructions:
- Lay the item down on a flat surface.
- Use a paper towel roll to place in the center of the fabric. Roll the fabric around the paper towel tube.
- Take the ends of the fabric and twist them into the center. Place rubber bands around the tube of fabric to keep everything tight and secure.
- Squirt dye onto all sides of the fabric or soak the entire tube of fabric in a tub of dye for at least one hour. Let dry before removing the rubber bands.
Sunny Tie-Dye
Instructions:
- Place the item out on a flat surface.
- Fold the item in half, then fold it in half again.
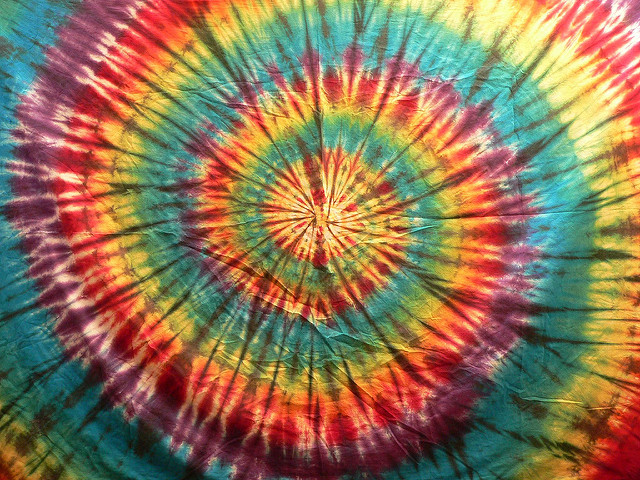
- Starting at one end of the fabric, pinch the center and twist it up about 1 ½ inches. Tightly tie the “mini-bun” with a rubber band. Continue this process until you make it to the other end of the fabric.
- Squirt the dye onto all sides of the fabric or soak the fabric in a tub of dye for an hour or two. Let dry before taking off the rubber bands.
Tie-Dye Stripes
Instructions:
- Place the fabric down on a flat surface.
- Starting from bottom to top, fold the fabric “accordian-style,” or how you would a paper fan.
- Place rubber bands around the fabric at 1-inch intervals to keep everything tight and secure.
- Squirt dye onto all sides of the fabric or soak it in a tub of dye for at least 1 hour. Let dry before taking off the rubber bands.
Share the post "Design Your Own Tie-Dye Creations"
 EN
EN  RU
RU