


Share the post "Crafts to Turn Your Trash into Treasure"
They say one man’s trash is another man’s treasure, so put your “junk” to good use with these crafts!
CD Christmas Bulbs
Use those old-school CDs to make your home sparkle at Christmas time!
Materials:
- CDs
- Scissors
- Clear plastic ornament balls
- Hot glue gun
Instructions:
- Cut the CDs up into pieces of various shapes and sizes (triangles, squares, etc.)
- Hot glue the pieces onto the clear ornament balls. You can glue them randomly or in a pattern.
- They are ready to hang!
Pretty Penny Vase
Pennies are obsolete nowadays, so use them to transform a boring vase into something shiny, crafty, and eye-catching!
Materials:
- Vase (organically round shape, any size)
- Pennies
- Hot glue gun
Instructions:
Hot glue the pennies to the vase, following the contours of the vase. Be sure the pennies line up with each for a concise and neat look. That’s it!
Cassette Tape Desk Caddy
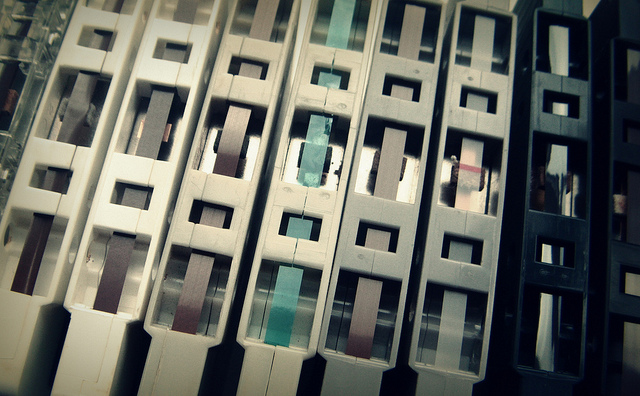
If you still have cassette tapes, then good riddance! Use them to make a desk caddy that will spark conversation.
Materials:
- Cassette tapes, 4
- Hot glue gun
Instructions:
- Stand the cassette tapes up vertically and create a box shape out of them.
- Hot glue the sides together to create a desk caddy that can hold your pencils and pens!
Minty-Fresh Candle
Fresh breath and a soothing ambiance? Sounds like a win-win!
Materials:
- Small candles (can be from dollar store)
- Knife
- Aluminum tape
- Altoids tin
- Wicks
Instructions:
- Use the knife to chip away at the small candles and collect the wax.
- Melt the wax bits in a saucepan, being careful not to burn the wax or yourself.
- Stick some aluminum tape over the holes in the Altoids tin.
- Use the aluminum tape to attach one or two wicks to the bottom inside of the Altoids tin.
- Pour in the melted wax and allow to cool (you may need to trim the wicks a bit.) You’re all set!
Plastic Cap Toothbrush Holders
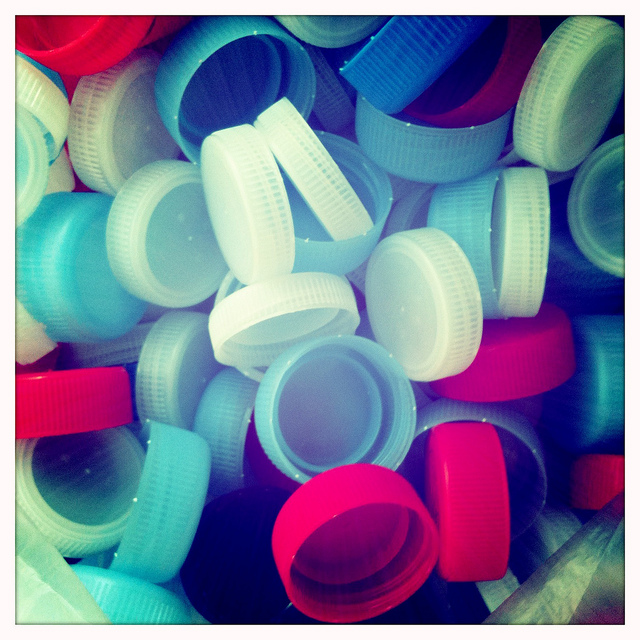
This is a fun bathroom DIY that will create bright smiles!
Materials:
- Plastic caps
- Scissors
- Velcro
Instructions:
- Reserve the plastic caps from a variety of packages and bottles you always have in your (they can be a variety of sizes.)
- Cut a slit in the side of each cap. The slit should be big enough for a toothbrush to fit between, but not so big that the toothbrush will slip through it and fall.
- Use the Velcro to attach the plastic caps to the bathroom wall. You might arrange them in a straight line or a pattern. The caps can be arranged over the faucet, on the side of the sink, or somewhere else in the bathroom.
Ladder Towel Rack
Unique and rustic, elevate your craft game with a ladder!
Materials:
- Ladder (or step-ladder)
Instructions:
Simply lean the ladder against the wall and drape towels on the rungs. You may paint the ladder so that it matches the décor in your bathroom or kitchen.
Share the post "Crafts to Turn Your Trash into Treasure"
 EN
EN  RU
RU
Pingback: